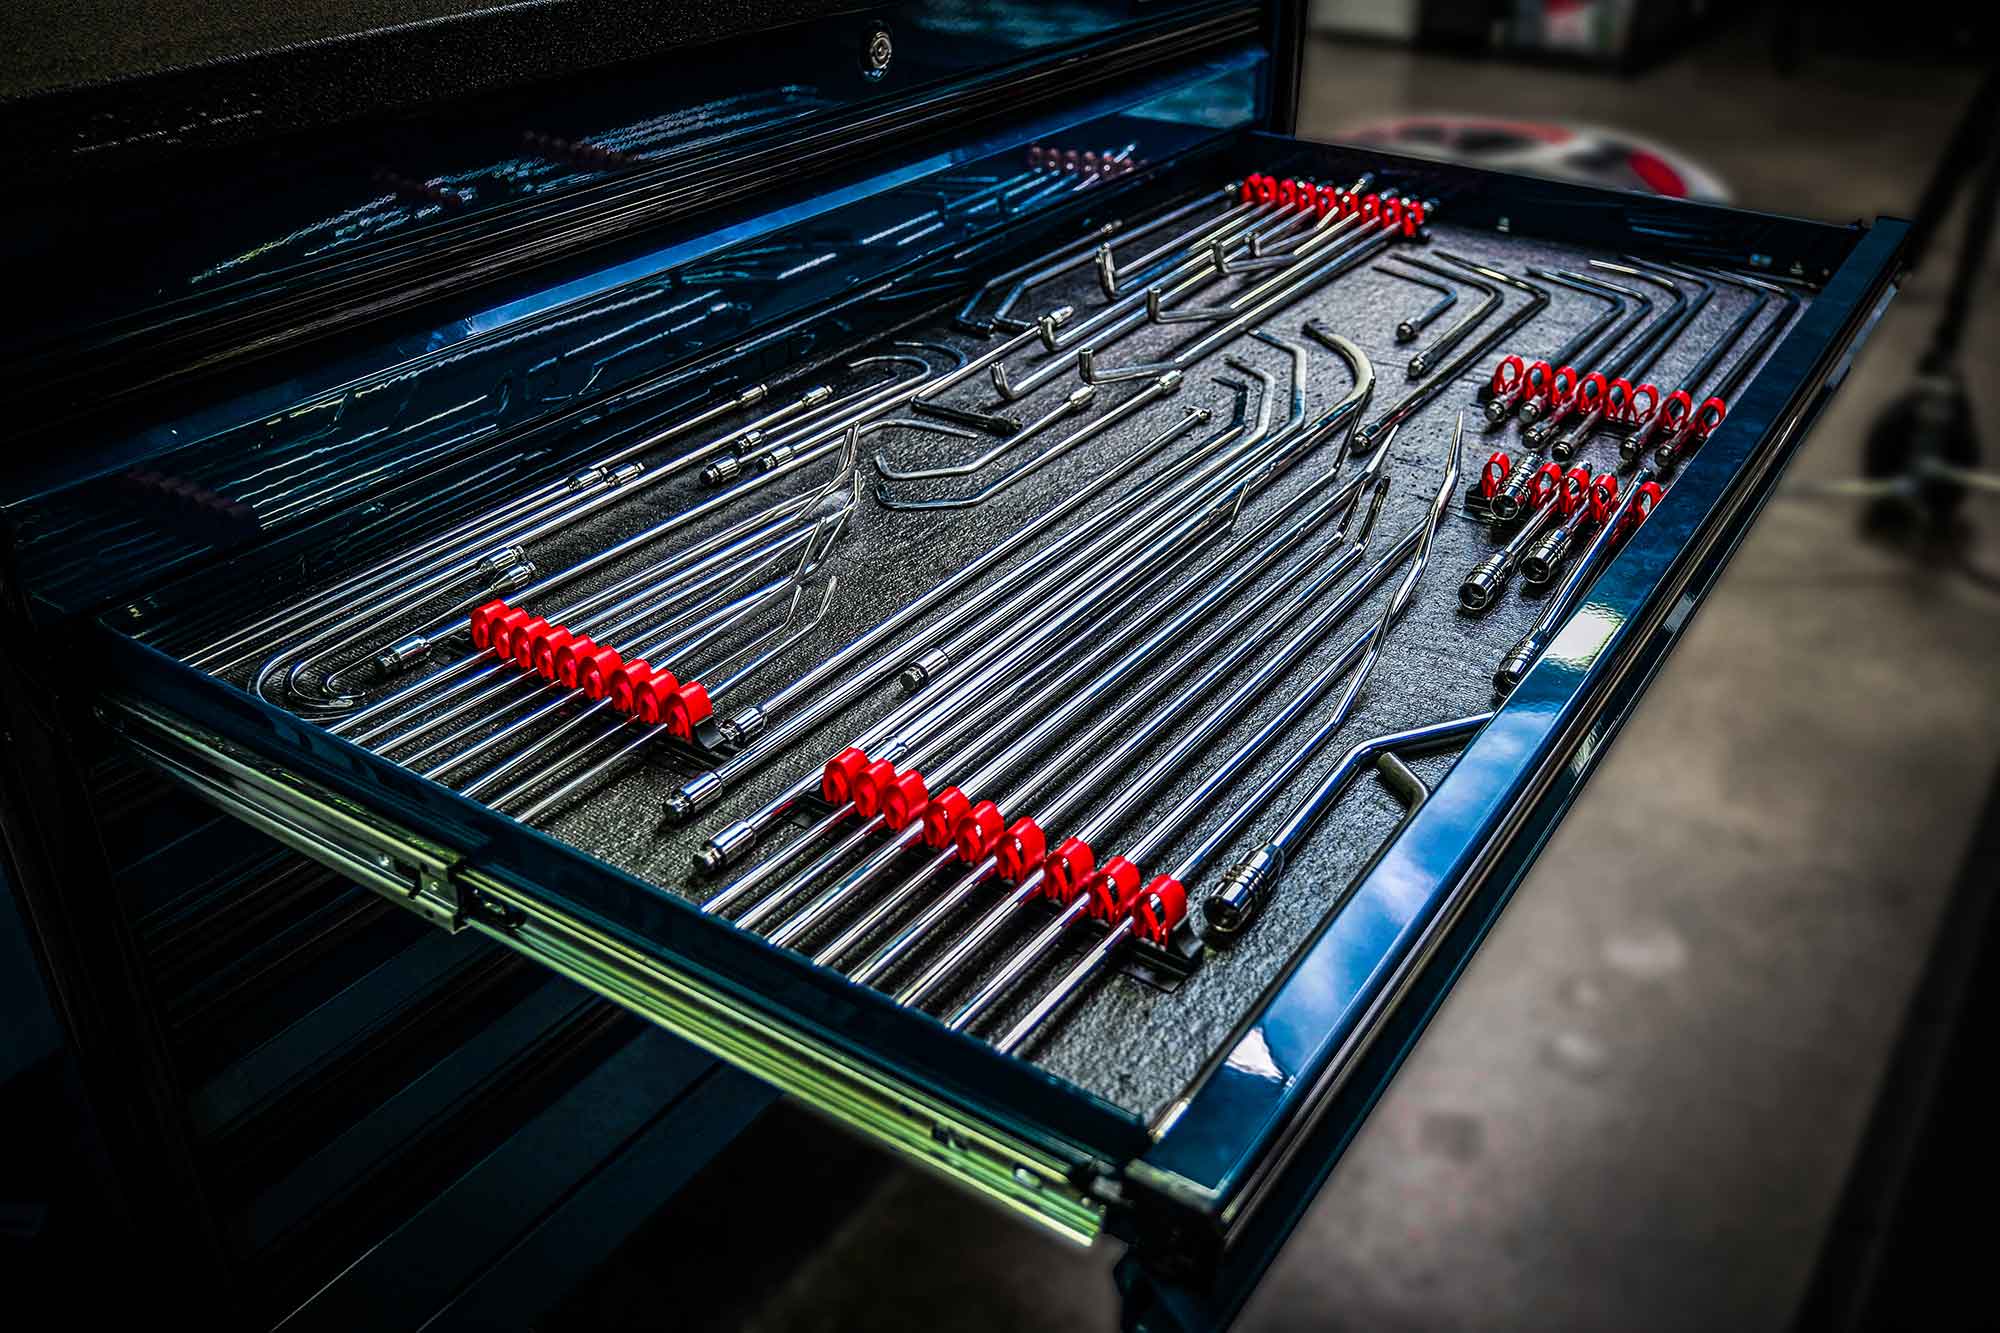
A case full of steel is not a head start.
The question I get more than any other from beginners is which paintless dent repair tools they should buy. My answer disappoints people. None of them. Not yet.
Buying tools before you understand what they do is how you end up with a case full of steel you cannot name and a slower learning curve than the person who started with three tools and a light. I have been on these tools since 1991 and I have trained technicians all over the world. Below are the three that matter first, what each one is actually for, and why the size of your kit is quietly working against you.
What PDR tools should a beginner buy first?
None yet, because a kit bought before you understand what each tool does and which panels it suits teaches you nothing and slows down everything that follows.
Every week somebody messages me a link to a hundred piece kit asking if it is a good buy. I cannot answer that, and neither can they, because neither of us knows what they will be repairing or how they will hold a tool. A tool is leverage waiting for a trained hand. Bought early, it is just weight in a case and one more thing to be confused by.
Free videos will get you partway, including mine. What they will not do is put the tools in an order that makes sense, because a feed is not a curriculum. You watch a tech finish a quarter panel with a whale tail and you buy a whale tail, and now you own the sharpest tool in the trade with none of the judgment that keeps it from wrecking a panel. Understand the three tools below first. Then buy.
Tool one: why start with a screw-on soft tip rod?
The screw-on soft tip rod is the most versatile tool in paintless dent repair, because one shaft accepts many tips and covers doors, hoods, fenders and quarter panels.
This is the closest thing PDR has to a Swiss army knife, and it is where every student of mine begins. One shaft, and the tip threads on and off. You start with a soft tip because it spreads the force and forgives you while your hands are still learning how much is too much. As the read improves you move to a mid point tip, then to something sharper when the repair genuinely calls for it. That progression is the training, not an accessory list.
I prefer a 24 inch shaft for a beginner because it reaches most open panels without becoming unwieldy behind a door skin. Doors, hoods, fenders and quarter panels all fall inside its range. Ultra Dent Tools is one of the makers I work with for these. The point is not the badge on the shaft. It is that a single tool with three tips will teach you more in a month than thirty tools will, because you are forced to solve the dent with placement instead of shopping for a different piece of steel.
Tool two: what is a door lord set used for?
A door lord is a thin, strong, sharp-ended tool for working down doors and fenders, with an adjustable handle that lets you hold a comfortable angle through open access and some braced areas.
I reach for door lords daily. They go down a door and along a fender where a thicker rod would fight you, and they finish sharp pits at the end of a repair when you need precision in a small place. The adjustable handle is the part beginners underrate. Being able to set the handle means you can find a position your shoulder can hold for twenty minutes, and a position you can hold is a position you can control.
That comfort point matters more than it sounds. Most bad pushes are made by a technician working from an angle their body cannot sustain. Anson PDR sells door lords individually, which is worth knowing if the full set is more than your budget allows on day one. Buy one, learn what it does in your hands, add the next when the work asks for it.

A position you can hold is a position you can control.
Tool three: what does a whale tail do that a rod cannot?
A whale tail works between bracing by kicking off a brace such as a door impact beam with one edge while the other edge twists against the dent, reaching where no rod fits.
Without whale tails we would create more high spots getting to a dent than we fixed. Hoods, doors, roofs and trunks are full of bracing, and a braced area is a space a round rod cannot enter cleanly. The whale tail solves it with geometry. One edge braces against the structure, the other edge twists against the low spot, and the flat blade spreads the force across the area instead of concentrating it on one point.
Now the warning, because this is the tool that punishes beginners. Whale tails are sharp and they can put pock marks in a panel faster than a needle on a sewing machine. Every one of those marks is a second repair you now owe the customer. This is where going slow stops being advice and becomes technique. Check the reflection after every move. If you cannot see what the last push did, do not make the next one.
Why does a smaller tool kit make you learn faster?
A small kit forces you to solve dents with technique rather than with another tool, and every extra tool is one more decision standing between you and the panel.
I have watched this play out for decades. The student who shows up with three tools and a light board is reading the panel by the end of week one. The student who shows up with a hundred piece case spends week one deciding which piece to use, and deciding is not repairing. The larger kit feels like preparation. It functions as noise.
There is a reason a good trainer starts you narrow. When there is only one tool in your hand, the only variable left is you. Where you place the tip, how hard you push, when you stop. Those three things are paintless dent repair. Add tools once your hands have stopped guessing, and add them one at a time in response to a job you could not do, never in response to a video. If you want the full picture of what a working technician carries, I laid it out in PDR tools of the trade.
Does the brand of PDR tool matter, and how should you buy?
Brand matters far less than fit, because tools have to be matched to your hands, your reach and the work you intend to take, the way a serious golfer gets fitted rather than buying a boxed set.
If you were serious about golf, would you grab a random set off a warehouse shelf, or would you get fitted at a pro shop by somebody who watched you swing. Everybody answers that the same way, and then they buy PDR tools off a marketplace listing. Tool length, tip shape, handle style and shaft stiffness all have to suit your body and the panels you plan to work. That is a fitting, not a purchase.
This is one reason my students do not bring anything with them. Every tool you could want is already in the shop, so you try them under supervision on real customer vehicles and find out what actually works in your hands before any money moves. Discounts with the major PDR tool brands come with the course, so you leave fitted rather than guessing. The course pages are the two week training and the four week training.
What has to come before the tools?
Reading the panel comes first, because the slower you learn paintless dent repair the faster you get at it, and speed is a byproduct of accuracy rather than the reverse.
No tool in this trade sees anything. The reflection board sees, and your eye reads what the board shows. A rod is how you answer what you read. Beginners reverse that order, buy hardware, and then wonder why the dent moves in the wrong direction. It moved exactly where they pushed it. They just could not see where they were pushing.
So take the boring path. Learn the read, work with three tools, check the panel after every move, and stop when your eyes tire. The technicians who chase speed in month two are the ones still fixing their own damage in year two. Get the foundation right and the speed shows up on its own, because you stop repairing the same dent twice. If you are still weighing whether this trade is for you, start with so you want to learn PDR, then look at the training courses.

The read comes first. The steel answers it.
Questions, Answered.
What are the 3 best PDR tools for a beginner?
A screw-on soft tip rod, a door lord, and a whale tail. The screw-on rod covers open panels such as doors, hoods, fenders and quarter panels with interchangeable tips. The door lord works down doors and fenders and finishes sharp pits. The whale tail reaches between bracing where a round rod cannot go.
Should I buy PDR tools before training?
No. Buy nothing until you understand what each tool does and which panels it suits. A kit purchased in advance is weight in a case, and choosing between a hundred pieces slows a beginner down. Learn the three core tools first, then buy tools fitted to your hands and the work you plan to take.
What size PDR rod should a beginner start with?
A 24 inch screw-on shaft suits most beginners. It reaches into the majority of open panels without becoming awkward behind a door skin, and the interchangeable tips let one tool carry you from soft tip work through mid point and sharper tips as your read improves.
Are whale tails dangerous for a new PDR technician?
They demand respect. Whale tails are sharp and can leave pock marks in a panel very quickly, and every mark is a second repair you now owe the customer. They are still the right answer for braced areas on hoods, doors, roofs and trunks. Move slowly and check the reflection after every push.
Does the brand of PDR tool matter?
Fit matters more than brand. Length, tip shape, handle style and shaft stiffness have to match your hands, your reach and the panels you work. Getting fitted under supervision, the way a golfer is fitted for clubs, produces better results than buying a boxed set from a marketplace listing.
Do Dent Time students need to bring their own tools?
No. Every tool you could want is already in the shop, so you try them on real customer vehicles under supervision before you spend anything. Discounts with the major PDR tool brands are included with tuition, so students leave fitted with tools that suit them rather than guessing.